Wireguard Setup
Published on

Contents
Wireguard Server Setup
The easiest way to setup a Wireguard server is to use the Wireguard Easy docker image from Emile Nijssen.
Following the instructions, you must have Docker installed:
curl -sSL https://get.docker.com | sh
sudo usermod -aG docker $(whoami)
exit
This tutorial will considerate the following diagram:

Our WAN IP is 123.123.123.123, our Router LAN IP is 192.168.1.1, our server IP is 192.168.1.50. Our public UDP port where we will connect to the VPN is 10000 as a secure measurement: the Docker container will still be listening on UDP port 51820, while the server will be listening on UDP port 10000. This will allow to obscure the port used by the server so attackers will have a harder time.
Then, install and run wg-easy:
docker run -d \
  --name=wg-easy \
  -e WG_HOST=123.123.123.123 \
  -e PASSWORD=mySuperSecurePa$$word \
  -e WG_PORT=PUBLIC PORT \
  -v ~/.wg-easy:/etc/wireguard \
  -p 51820:51820/udp \
  -p 51821:51821/tcp \
  --cap-add=NET_ADMIN \
  --cap-add=SYS_MODULE \
  --sysctl="net.ipv4.conf.all.src_valid_mark=1" \
  --sysctl="net.ipv4.ip_forward=1" \
  --restart unless-stopped \
  weejewel/wg-easy
🚨 Be sure to change the values from the environmental variables. WG_HOST to suit your WAN IP, PASSWORD to be your admin password and WG_PORT to be the default 51820 or another one to be more obscure to potential attackers.
Once the server is running, you can access the admin panel at http://localhost:51821/.
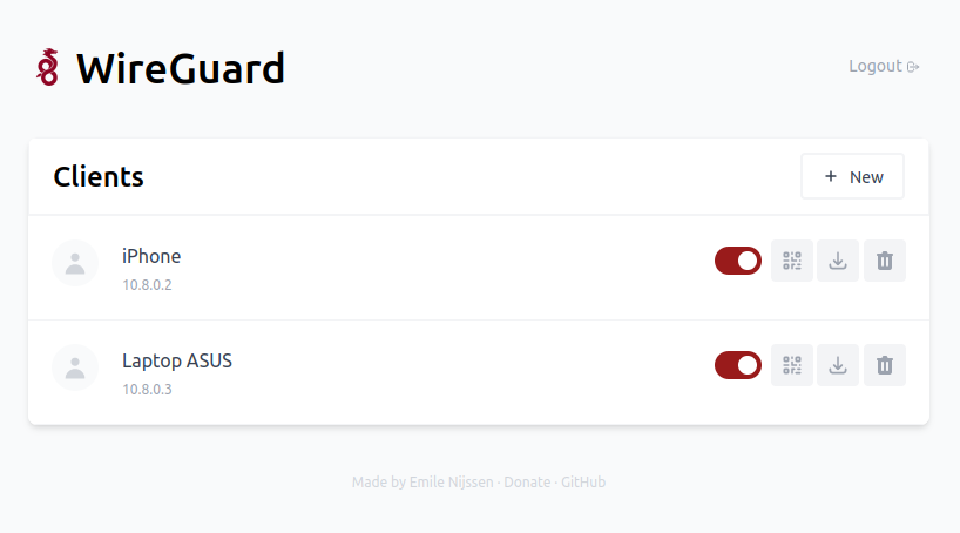
In order to access from http://123.123.123.123:51821, you must do port forwarding in your router or firewall:
- HOST: 192.168.1.50. INTERNAL PORT: 10000. EXTERNAL PORT: 10000. PROTOCOL: UDP
- HOST: 192.168.1.50. INTERNAL PORT: 51821. EXTERNAL PORT: 51821. PROTOCOL: TCP
Wireguard Client Setup
First, login to the admin panel.
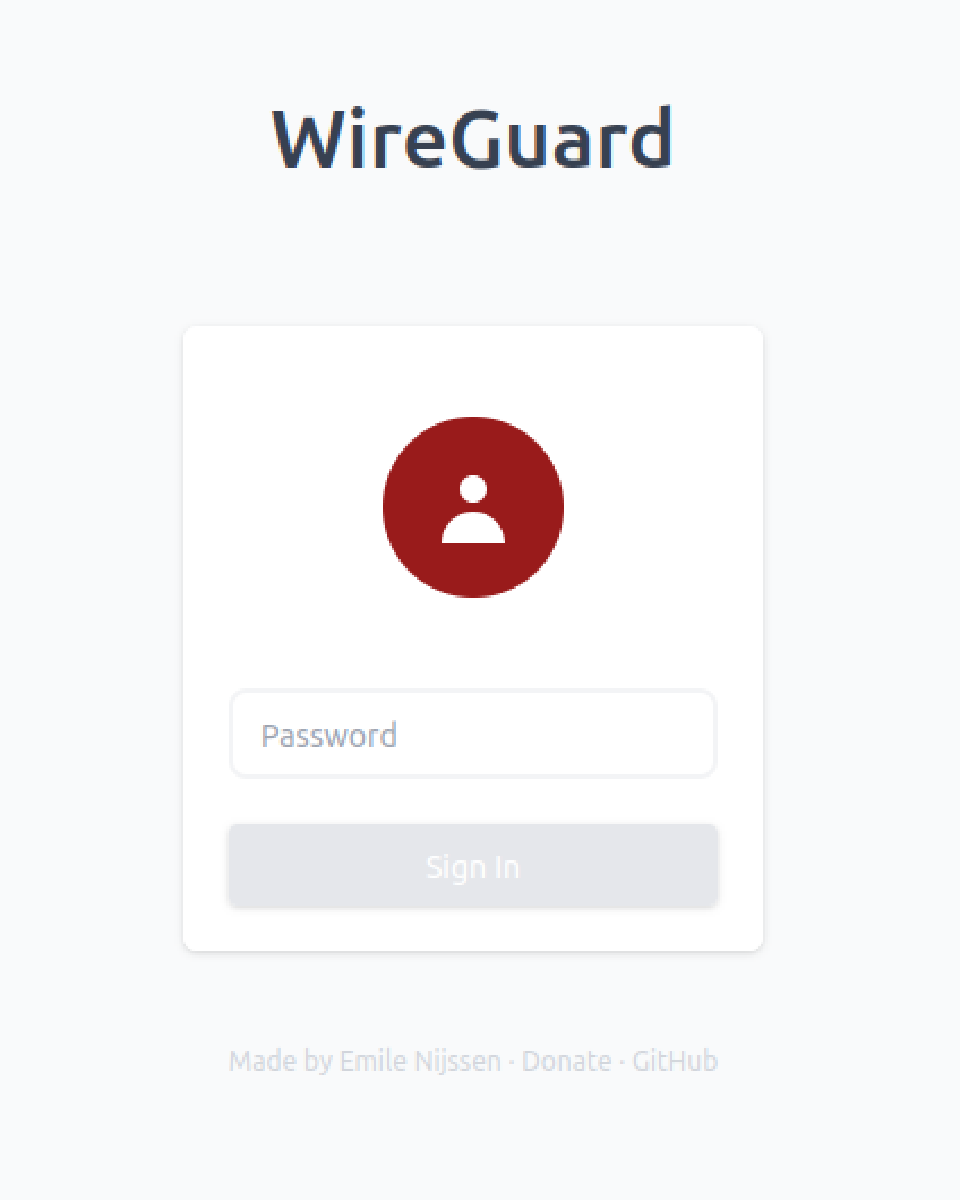
Then, create a client on the web app and give it a name.
PC
Go to the Wireguard web and download the installer for your operative system.
Windows
Once you have installed the Windows Wireguard client, you should download the config file from the server.
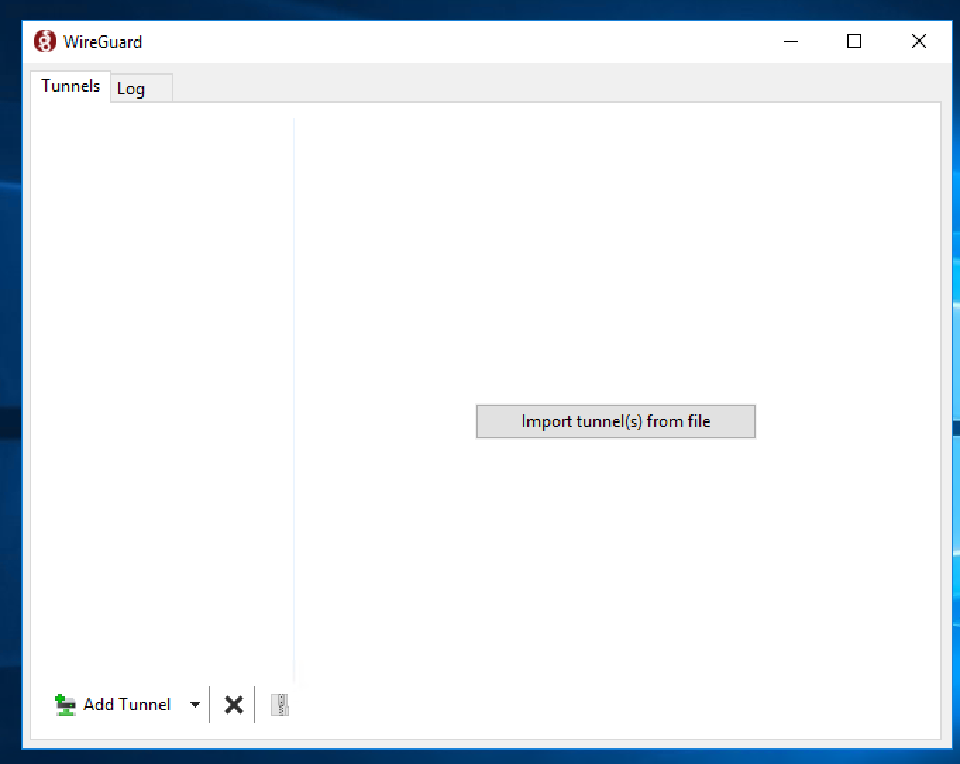
Click on “Import Tunnel(s) from file” and select the config file.
Voilá, you have a Windows Wireguard client.
Linux
In order to connect to the Wireguard server, first you need to install the Wireguard client.
sudo apt-get install wireguard wireguard-tools
Then, download the configuration from the server and save it in the Wireguard configuration folder:
sudo cp ~/Downloads/peer.conf /etc/wireguard/wg0.conf
Then, enable Wireguard to start at boot:
sudo systemctl enable [email protected]
sudo systemclt start [email protected]
Or just start it manually:
sudo wg-quick up wg0
Phone
Install the Wireguard app from the Play Store or the App Store.
Scan the QR by clicking the “+” icon on the top right, and then select “Create from QR” or if you downloaded the config file, select “Create from file”.
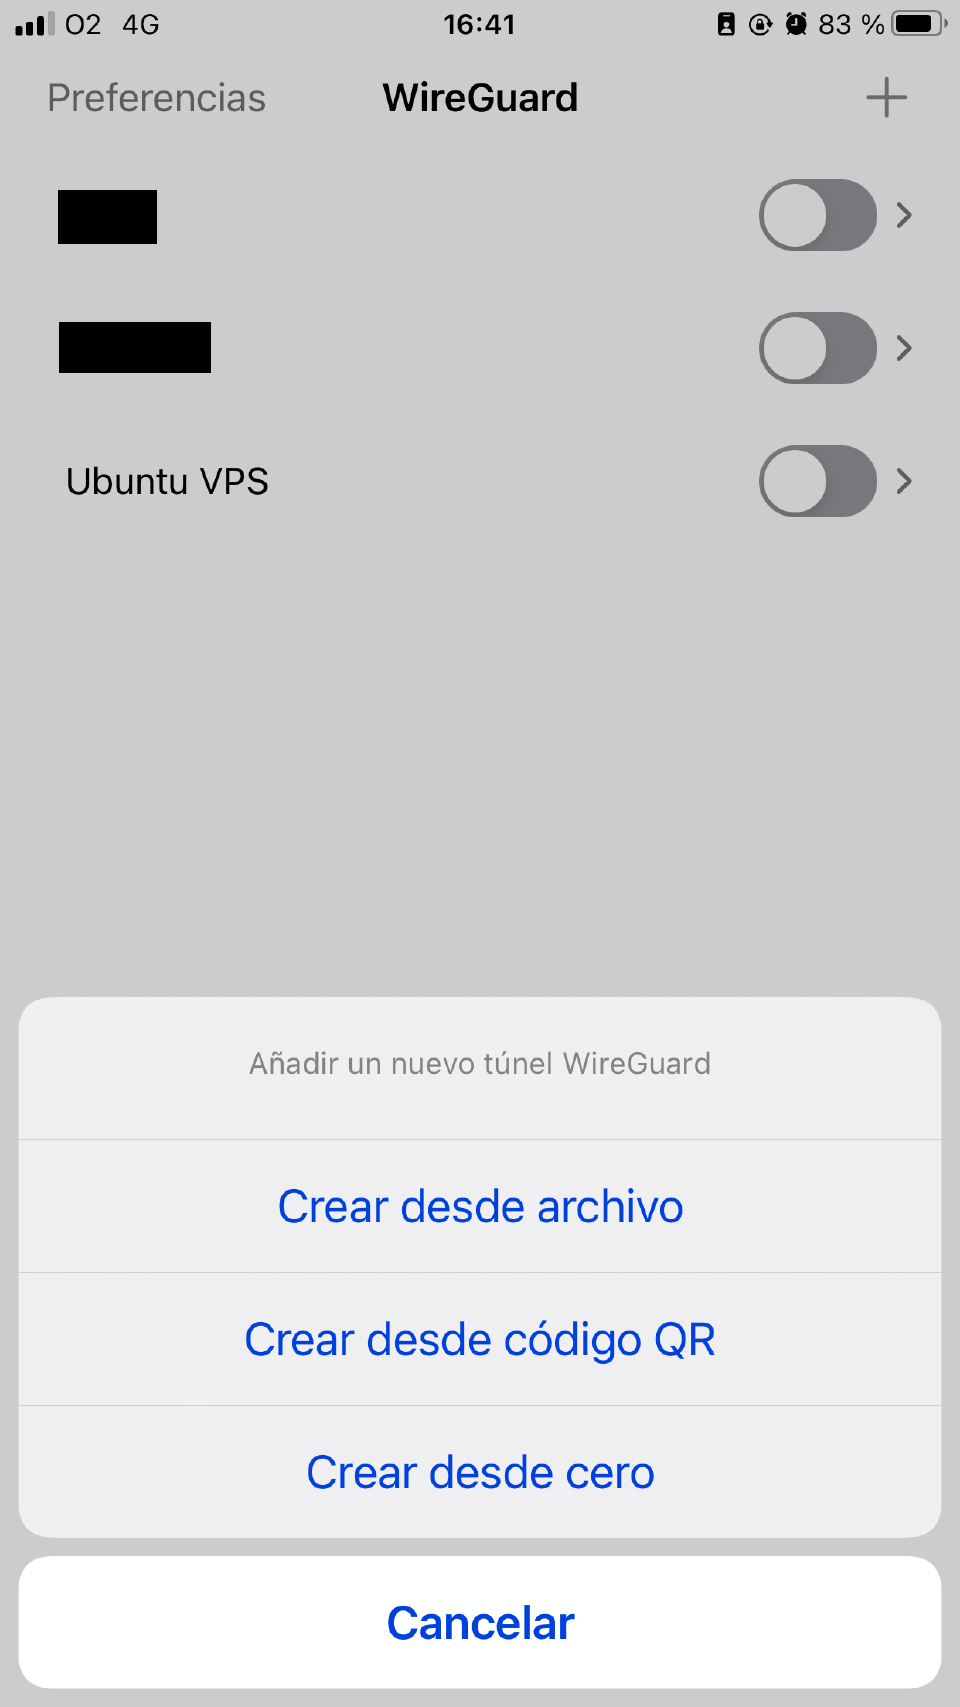
After scanning the QR it should automatically add the Wireguard server to the list.